
Creating a budget is essential for managing your finances, and Excel is a powerful tool to help you do just that. This step-by-step guide will show you how to use Excel to create a budget, track your expenses, and maintain financial health.
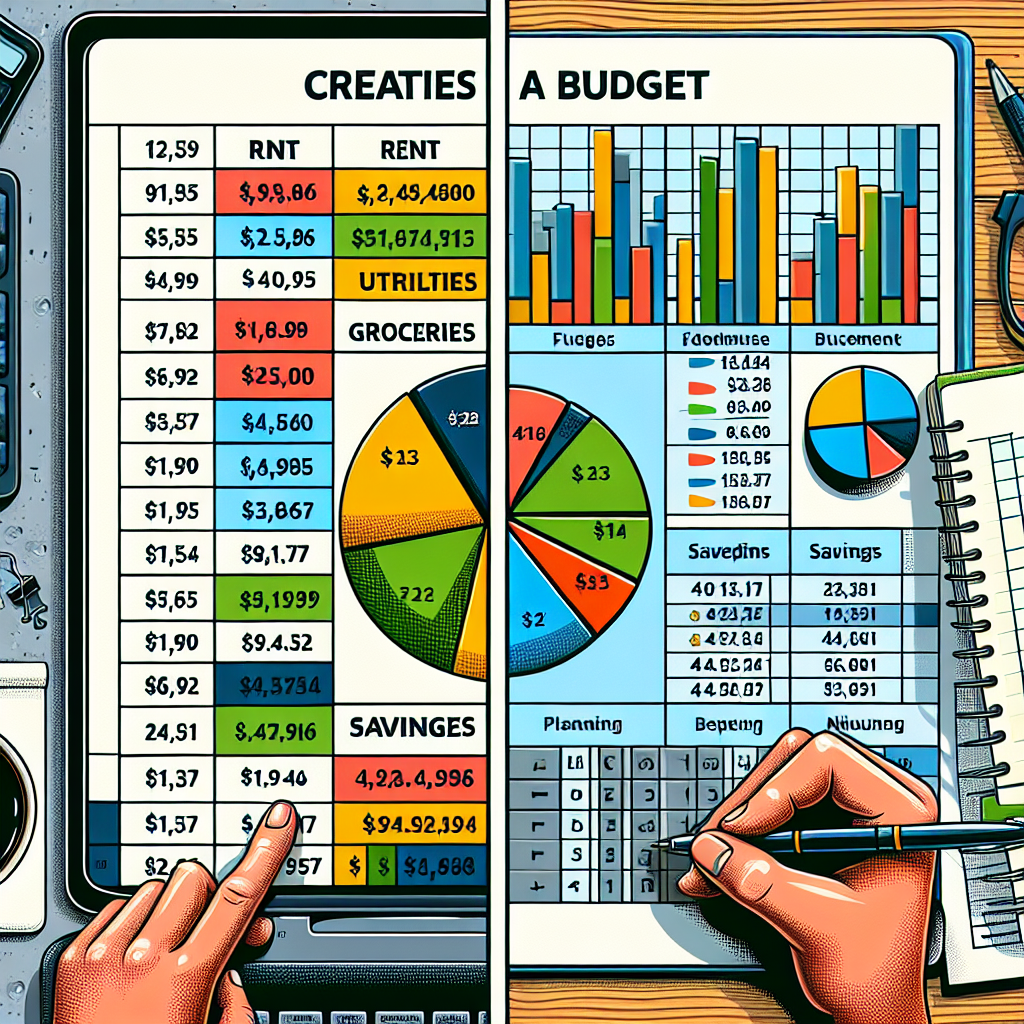
1. Set Up Your Excel Spreadsheet
To start, open a new Excel spreadsheet. Create columns for “Date,” “Description,” “Category,” “Income,” and “Expenses.” Labeling your columns makes it easier to organize your financial data.
2. List Your Income Sources
Next, identify all sources of income. This can include your salary, freelance earnings, investments, or any other cash flow. Enter these figures in the “Income” column, and be sure to include the dates when you receive them.
3. Record Your Expenses
Track your monthly expenses by listing them in the “Expenses” column. Include categories such as rent, groceries, utilities, transportation, and entertainment. This helps you understand where your money is going and identify any unnecessary spending.
4. Create a Budget Summary
After listing income and expenses, create a budget summary by using Excel’s built-in functions. For example, use the SUM function to calculate your total income and expenses. Subtract total expenses from total income to find your net savings or deficit.
5. Use Conditional Formatting
Excel’s conditional formatting feature can highlight areas where you’re overspending. Set it up to show when expenses exceed a certain percentage of your income, so you can make adjustments as needed.
6. Track and Update Your Budget Regularly
A budget is only effective if you keep it updated. Make it a habit to review and update your spreadsheet weekly. This ensures you stay aware of any changes in your financial situation.
Final Thoughts
Using Excel to create a budget can simplify your financial planning and give you better control over your money. By following these steps, you’ll be well on your way to managing your budget effectively. So start today and take charge of your finances using Excel to create a budget